How to cross stitch on paper
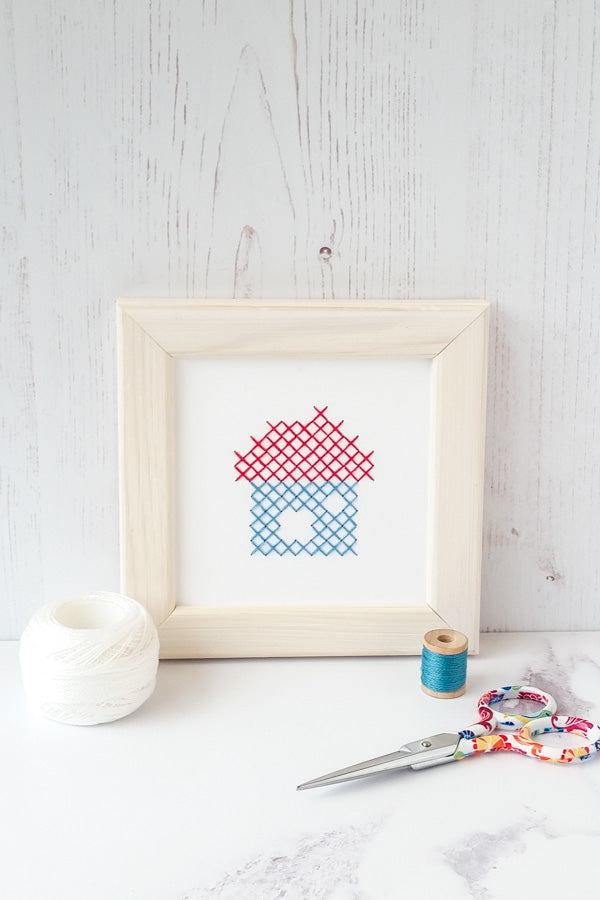
Stitching on paper opens up a world of options for decorative cross stitch pieces, and it's simple to do. Cross stitch on paper has a clean, modern look, and the technique described below can be used to create wall art, on journal covers, and for special handmade cards. Best of all, it uses basic supplies you probably already own.

Materials:
- Free pattern
- Heavy-weight paper (80-100 lb, works well)
- Ruler and pencil
- Size 6 crewel/embroidery needle
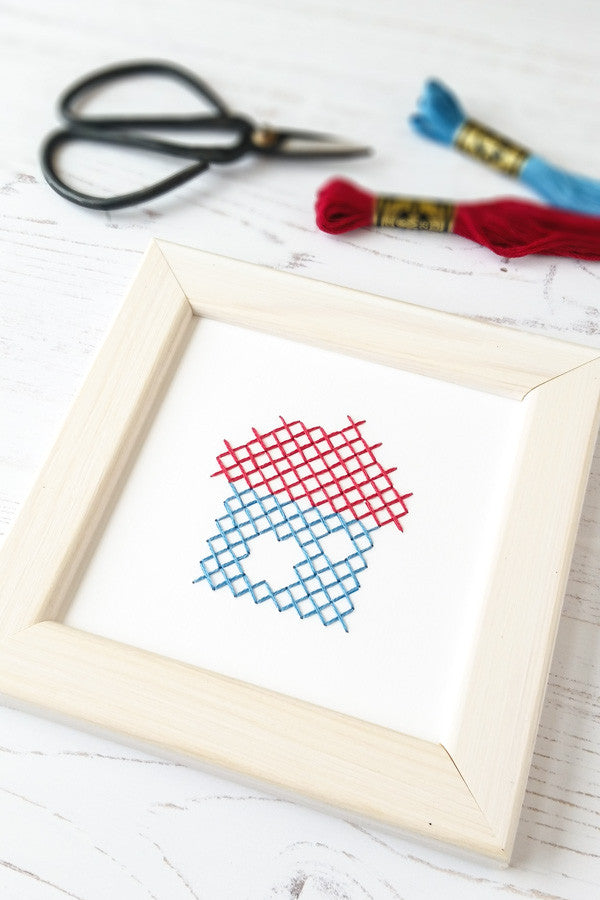
- DMC cotton embroidery floss colors 304 (red) and 518 (blue)
- Scissors
- Cork or a folded hand towel
- 4 x 4 inch wood frame (optional)
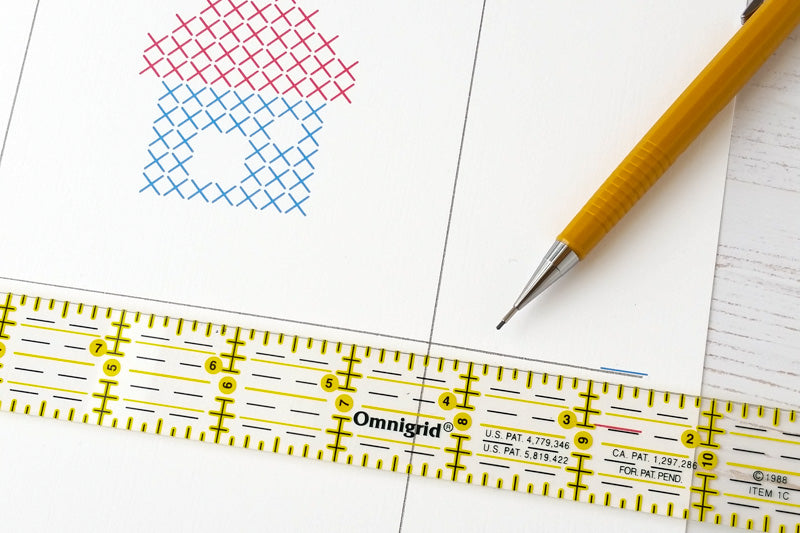
Step 1: Prepare the paper
Download the free pattern and print it on good quality heavy paper. Use the guides in the template and a ruler and pencil to mark your trim lines and carefully cut the paper into a 4-by-4 inch square. There are also trim lines to make a 5-by-5 inch square if you would like additional white space around your design.
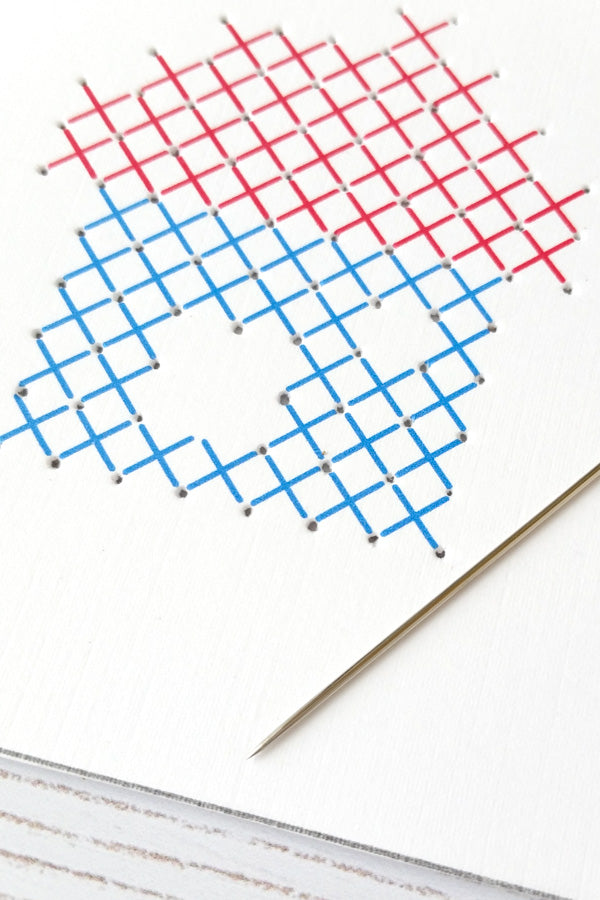
It will be easier to stitch, and you will get neater results, if you perforate the paper in advance. Place the paper on a clean, padded surface. We used a thick piece of cork, but a folded hand or kitchen towel works well too.
Use a crewel/embroidery needle, or a similar sharp-tipped needle, to poke holes in the spaces where the X’s meet, as well as at the corner of the X’s on the perimeter of the design. You can also poke the holes using an awl if you have one.
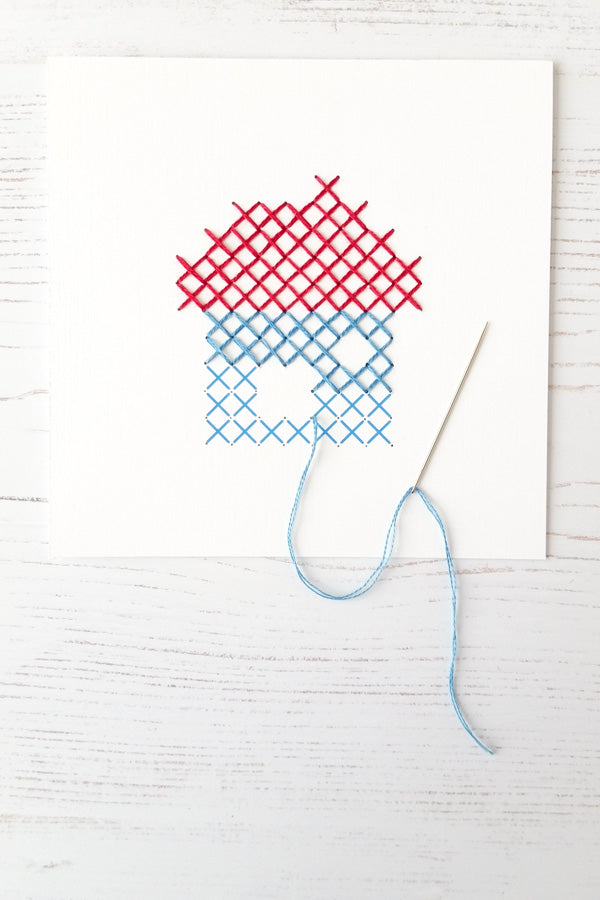
Step 2: Stitch
For this project, we stitched with two strands of cotton embroidery floss using a size 6 crewel needle. If you want a denser look, you can use up to 4 strands of embroidery floss. If you use more strands, you will want to use a bigger needle like a size 3 crewel needle.
Make cross stitches just like you would on fabric, following the design printed on the paper. For more detailed instructions, see our how to cross stitch guide.
Step 3: Finishing options
You can frame your piece in a 4 x 4 inch frame. A frame without glass will highlight the texture of your stitches. If you choose to use a frame with glass, a thick mat will keep the glass from squishing the stitches.
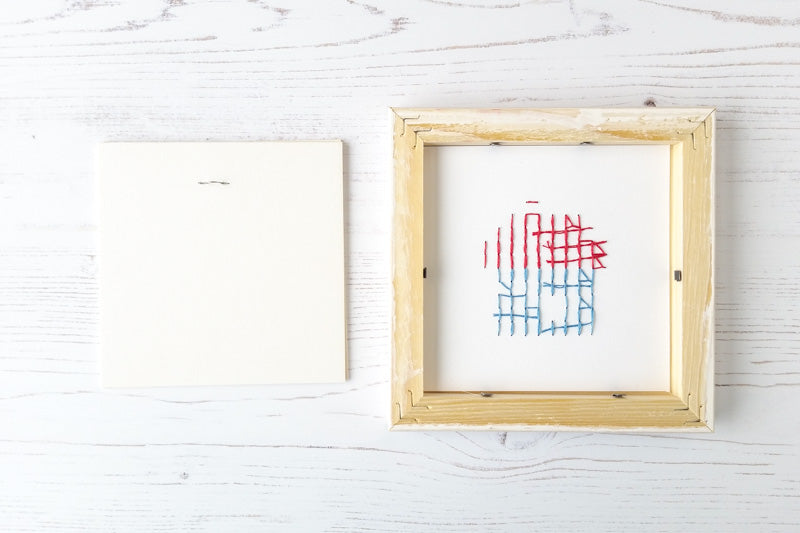
If you are not framing the piece and want to finish the back, cut a piece of scrapbook or other paper to size and glue it to the back of the print to cover the reverse side of the stitches.
For more stitching on paper, check out our cross stitch art print kits that combine classic cross stitch motifs with modern typography.